
"Without bread all is misery." William Cobbett

Hello my fave followers! Here's a fact... I haven't bought any bread for about two months now. And no, I'm not on a low carb diet (never!), it's because I've been making it myself!
I have always loved the romantic notion of making homemade bread, but it's always been a few too many steps for me. The typical bread making journey starts with the yeast being activated and bubbling in that magical way, followed by mixing, kneading, resting, punching down, shaping, resting again and finally baking. The delicious aroma that fills the house and the taste of freshly baked bread is like none other, but it's hard to fit it in with the daily grind. That's why the 'no knead' bread recipe my Mum found appealed to me so much. I must admit, I had never heard of such a thing and it seemed too good to be true! Well, after enjoying a generous slice, slathered with butter and hearing about how easy it was, I just had to try this 'no-knead' method out for myself! Eager to get started, I headed into downtown Georgetown to my fave shop Food Stuffs for the ingredients (if you're ever in town, make sure to check this place out!). Now, even though little effort is needed to make this bread, I must admit it does take some time... But isn't it worth it?! Scrumptious bread, here we come!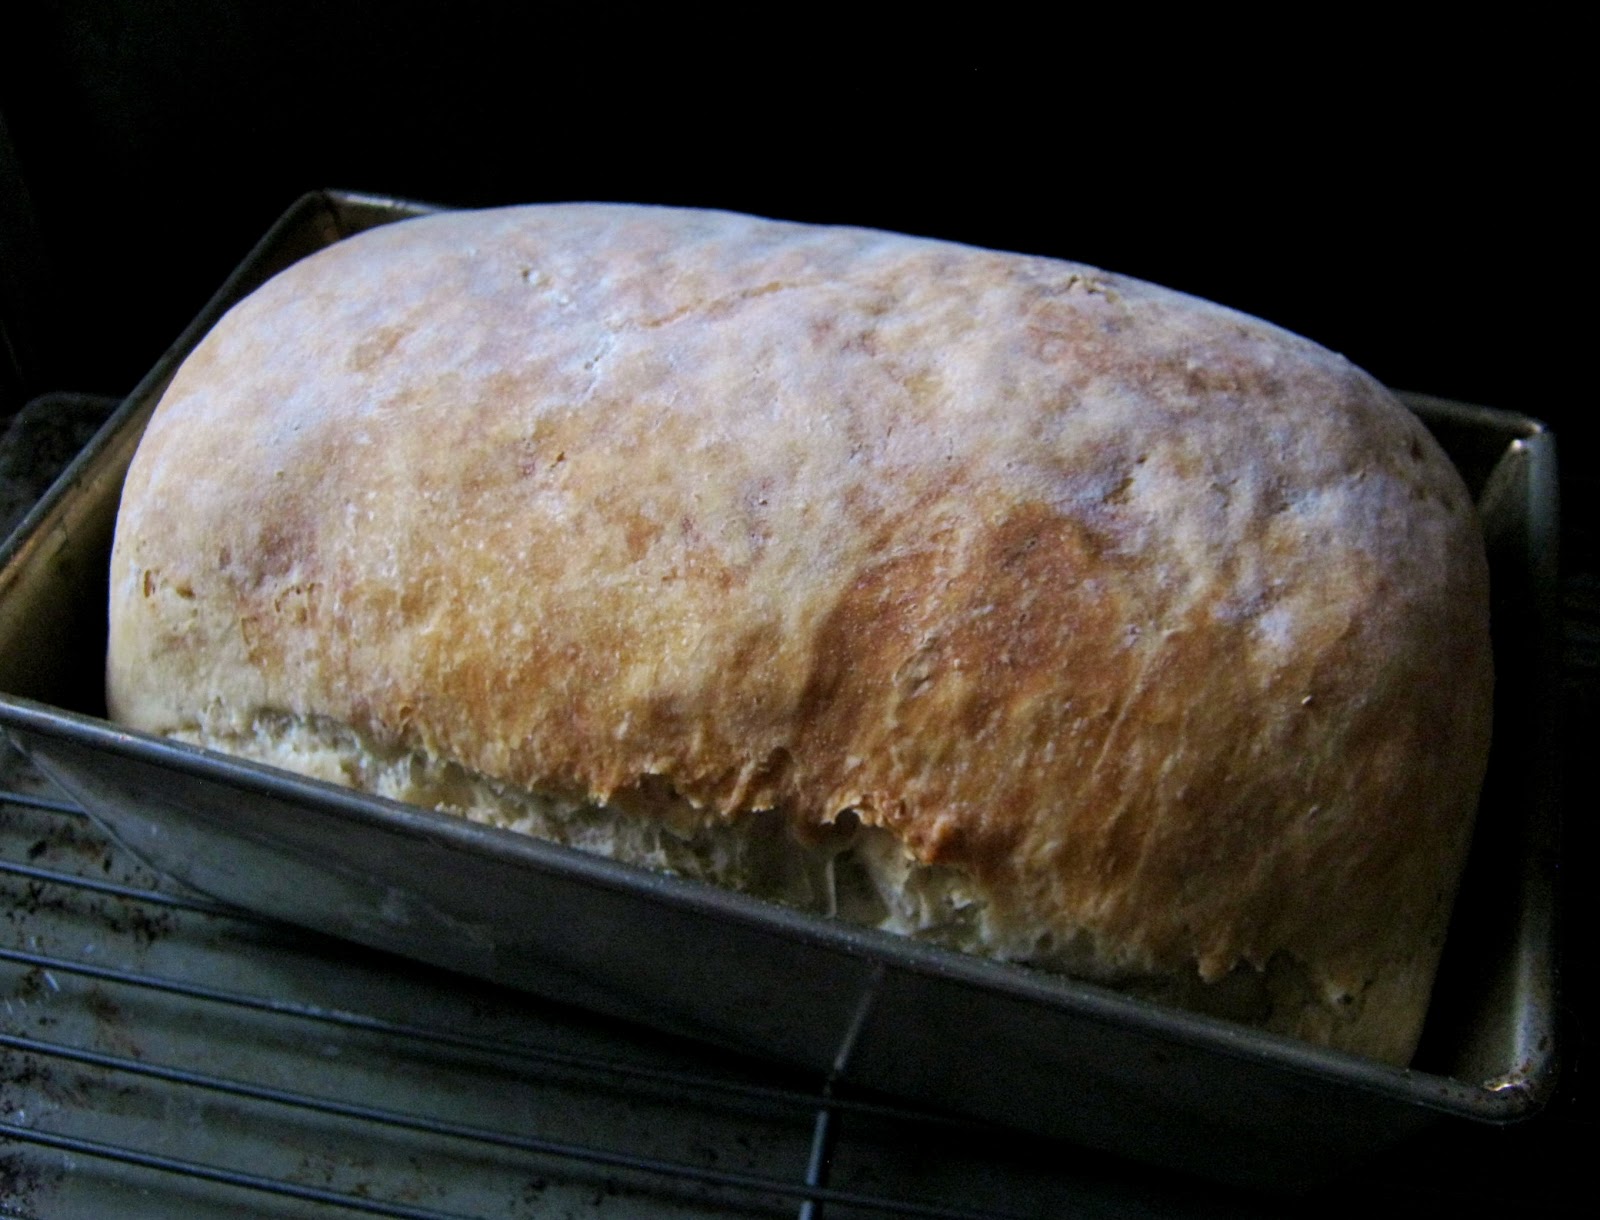
Simple and Tasty Recipe:
No-Knead White Bread
(makes 1 large loaf or 2 small loaves)
2 1/2 cups unbleached all-purpose flour
1 tsp sea salt
2 1/4 tsp (21 gr) quick-rise (instant) yeast
1 2/3 cups lukewarm water
1 tbsp fat to grease the loaf pan (I used vegetable shortening)
Place the dry ingredients into a large bowl and combine with a wooden spoon. Pour in the water and stir until all of the the ingredients are well combined with no dry floury bits (you can use your hands as well!). Cover the bowl with plastic wrap (or a recycled plastic bag without any holes) and allow to rest for 4 hours, or until the dough has doubled in size and is bubbly in appearance.
Turn the dough out onto a floured surface and with floured hands (the dough will be sticky!) shape your dough into a loaf shape and put it into a greased 9x5 loaf pan. Allow to rise until doubled in size once again, about 1 hours. Heat the oven to 400, bake the bread on the middle rack for 40 to 45 mins until browned. For a crusty loaf, place a shallow vessel filled with water onto the lower rack at the same time you put your bread in the oven. The steam will make the crust. Cool on a rack to room temperature before slicing, enjoy!

I've found that this bread will last up to five days and it also freezes wonderfully. Now, since the bread is homemade, why not have some fun and make homemade butter as well?! Yum! And just so you know, I went back to Food Stuffs the other day to pick up some nuts, seeds, different flours, etc. to do some experimenting with. So don't worry, the fun with 'no-knead' bread is just beginning! Well followers, have a great weekend and to fill you in on my plans... I will gladly be documenting my Uncle Jeff making a batch of home brewed beer in Dundas, ON. Talk about an exciting adventure! Bye for now!
P.S., Alas, I didn't place in the food photography contest I joined (not that I was expecting to!)... But, I am just so happy that I actually mustered up the courage to submit my photos and a big congratulations go out to all of the winners!

2 comments:
Oh how I LOVE bread. I also love baking bread so this recipe looks super simple and I will have to try it out! Looks really delicious.
Yay! I'm so happy that you like the recipe, thank you very much! Let me know how it turns out!
Post a Comment